
September 2nd 2020

December 15th 2020

Alexenferman
Alexenferman is not responsible for any damages or bricks made to your device. Please do some research if you have any concerns about rooting, its features and downsides. You are choosing to make these modifications, you should blame yourself for any mistakes you make.
Rooting may require a factory reset, please backup your data. Rooting will void your device warrany. By rooting your device, you will not be able to install OTA updates on your phone.
US carrier specific devices such as Verizon and Sprint might not be bootloader unlockable, therefore, not rootable.
PREPARING TO ROOT
To begin rooting your Moto E 2020, you will need the following things:
- Platform Tools (Download from here)
- Motorola Drivers
- Windows or Linux PC
- Bootloader Unlocked Moto E 2020
To continue with this article, your device must be bootloader unlocked.
To unlock the bootloader of any Motorola device, go to the official Motorola Bootloader unlocking website here.
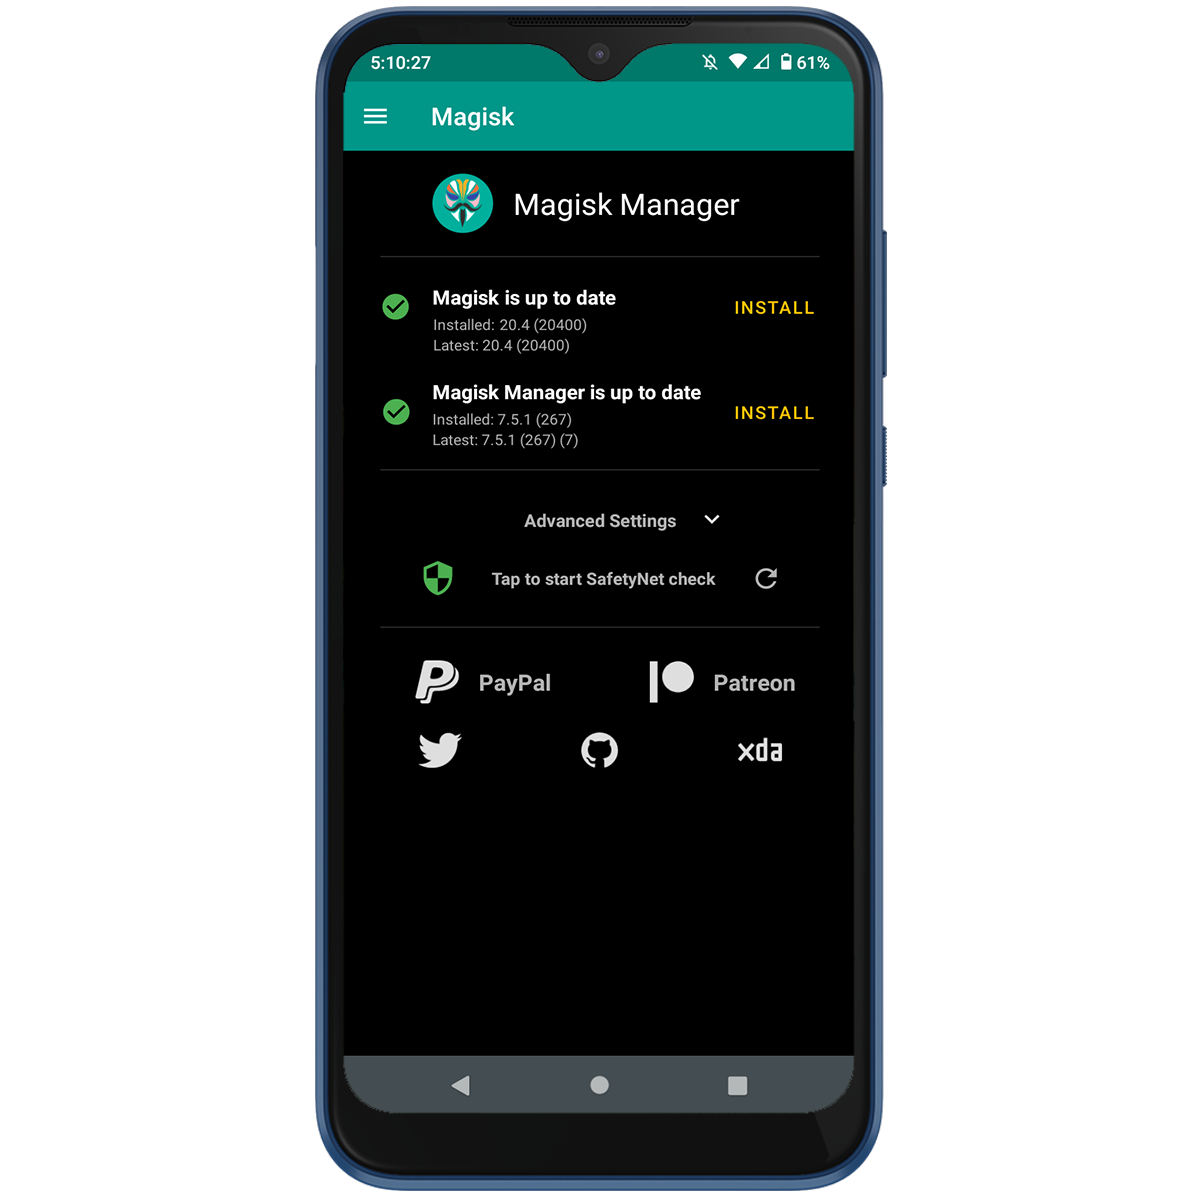
Downloading and installing Magisk Manager
Download the latest Magisk Manager APK from Github.

MagiskManager-v7.5.1.apk (GitHub)
To see all releases on Github, click here.
Install the APK file. Make sure to enable "Unknown Sources" in the Settings app.
PATCHING THE BOOT IMAGE
Downloading the Stock ROM
To retrieve the boot image in order to patch it, you will need to download the stock ROM for your specific variant. Thanks to the unofficial Motorola Update tracker, we have most stock ROMs for most variants of the Moto E 2020.
To download the Stock ROM, visit the Motorola Update tracker page here.
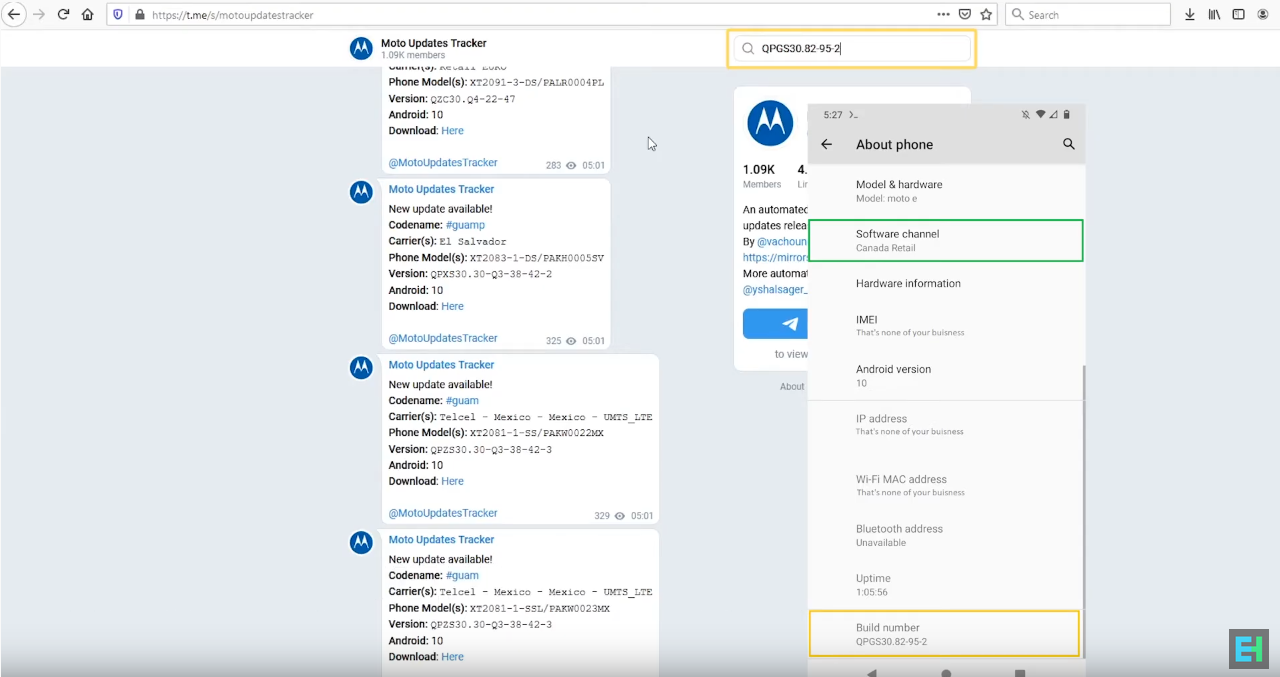
On your phone: Go to Settings > About and take a look at the build number and software channel.
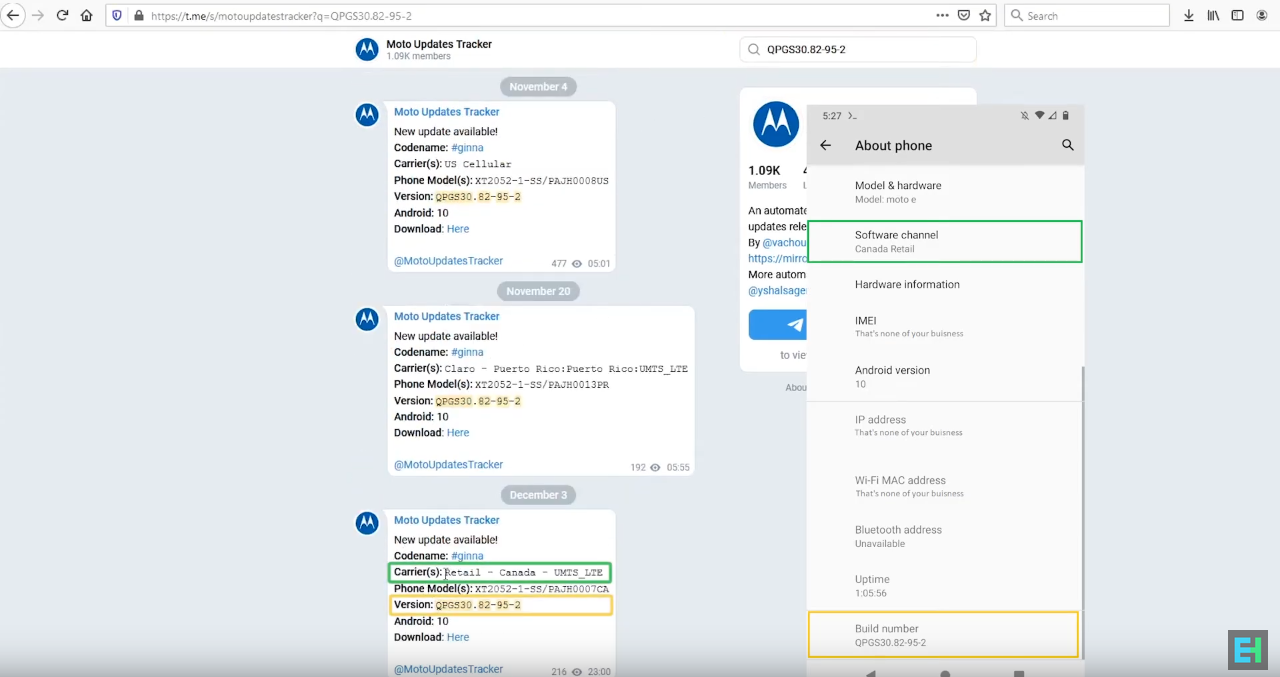
On the Motorola Update Tracker page, search for the build number (Ex. QPGS30.82-95-2)
Now, find the right ROM for the right Retail version (Ex. Retail Canada)
Download the ROM file. This will take a while
Getting the boot image
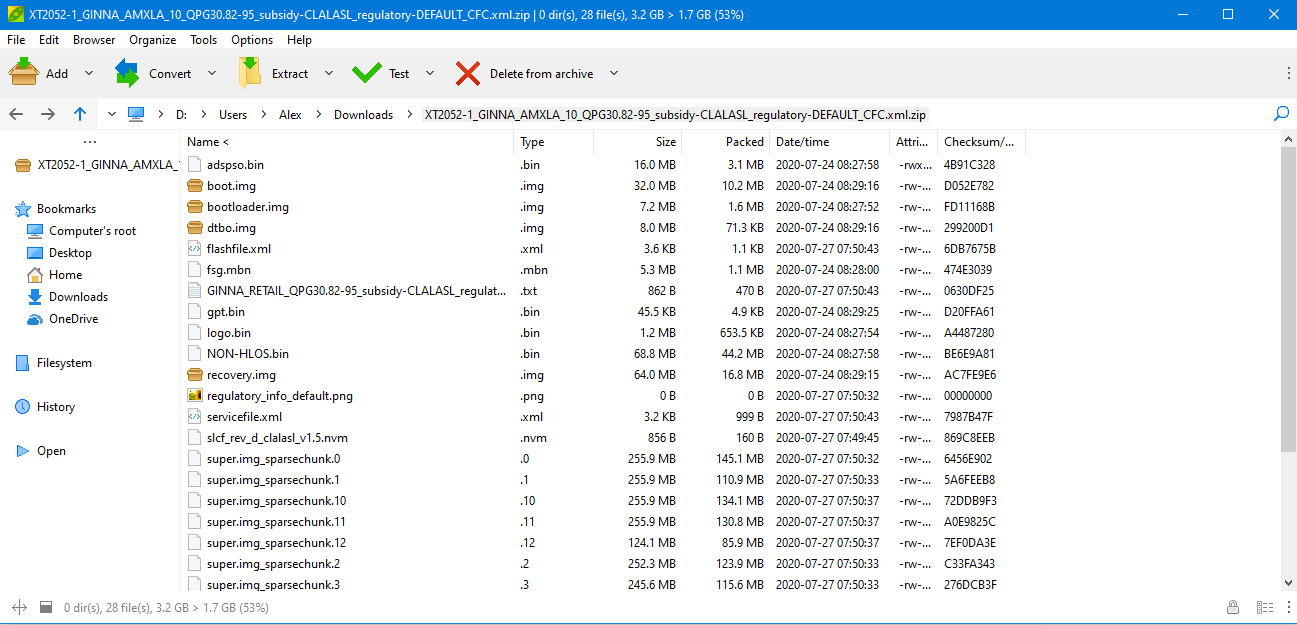
Open the Stock ROM zip file using an archive manager.
From the archive, extract the boot.img file.
Now, you can delete the archive, as you won't need any other file from it. You can chose to keep it, in case something bad happens or if you want to make a clean flash of the firmware later.
Patching the boot image
Transfer the previously extracted boot image to your phone.
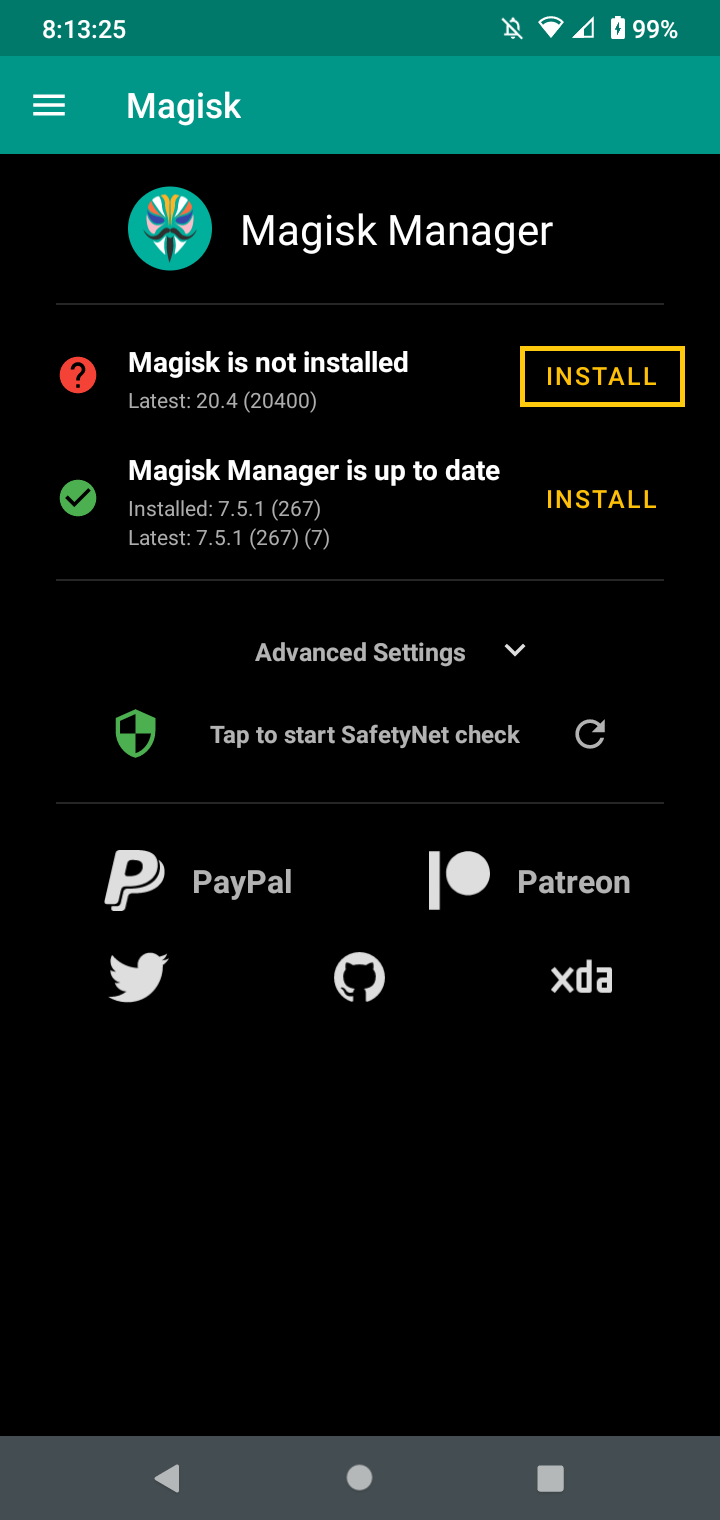
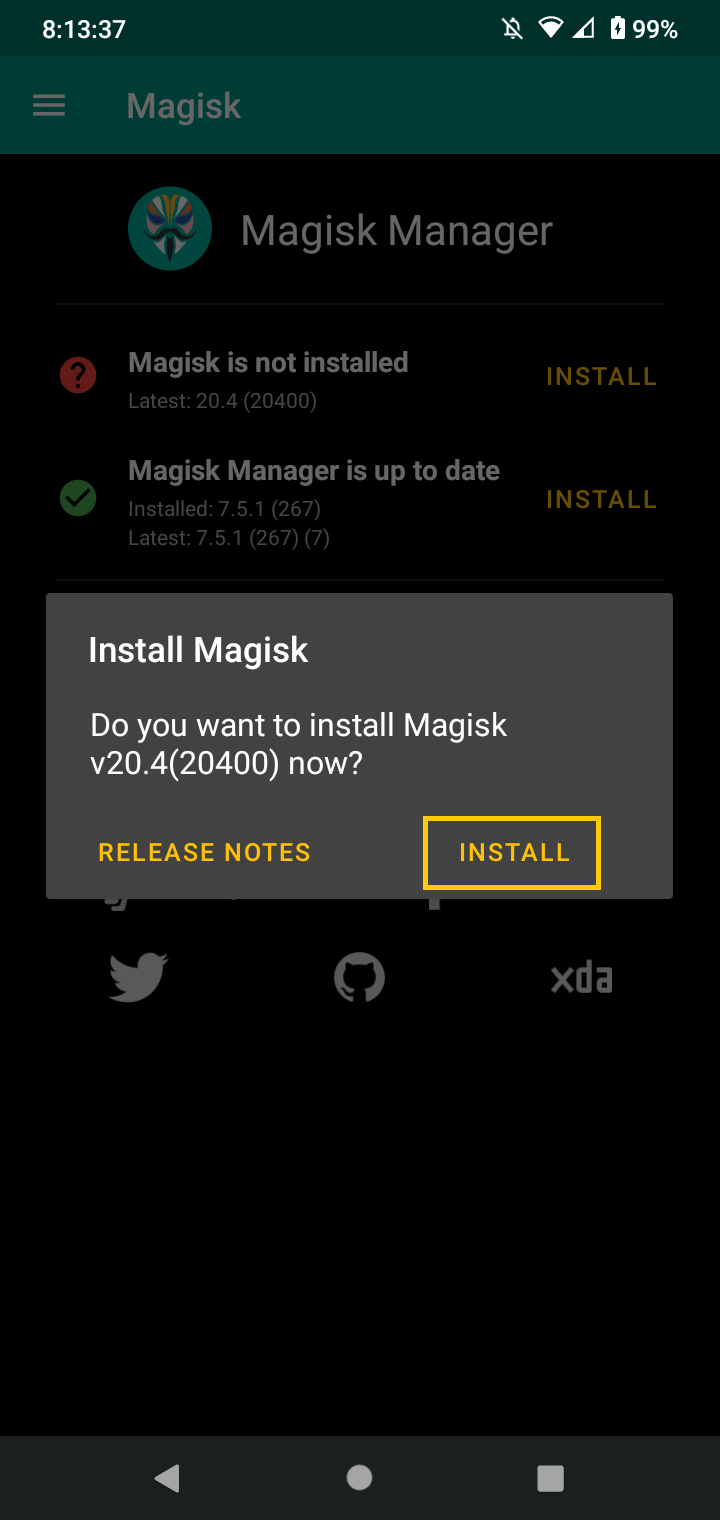
On your phone, open the Magisk app.
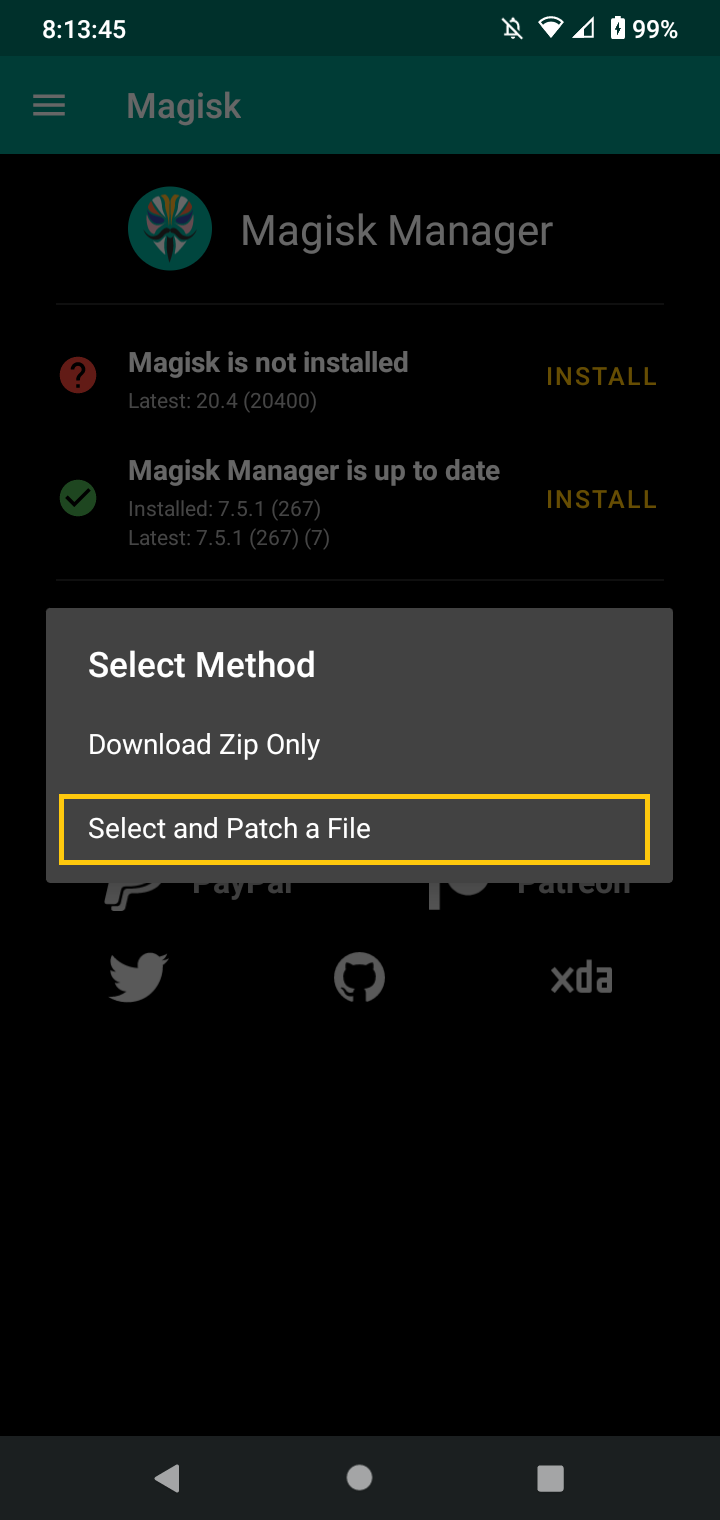
Select "Install" > "Install" > "Select and Patch a File"
Locate the boot image in the internal storage on your phone. Select the boot.img file.
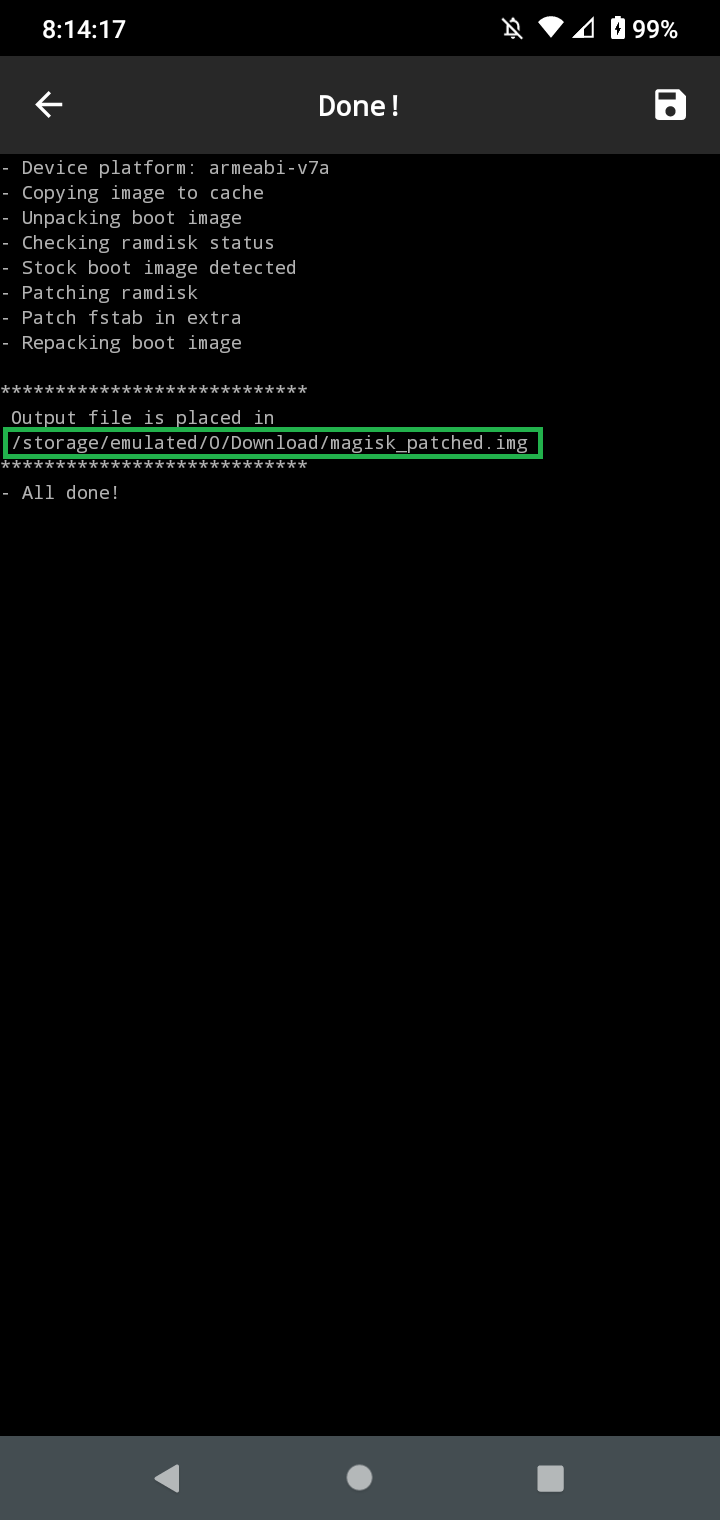
Transfer the magisk_patched.img file on your computer. You can find the path of the file under the "Output File is placed in:", on the 4th image.
ROOTING THE DEVICE
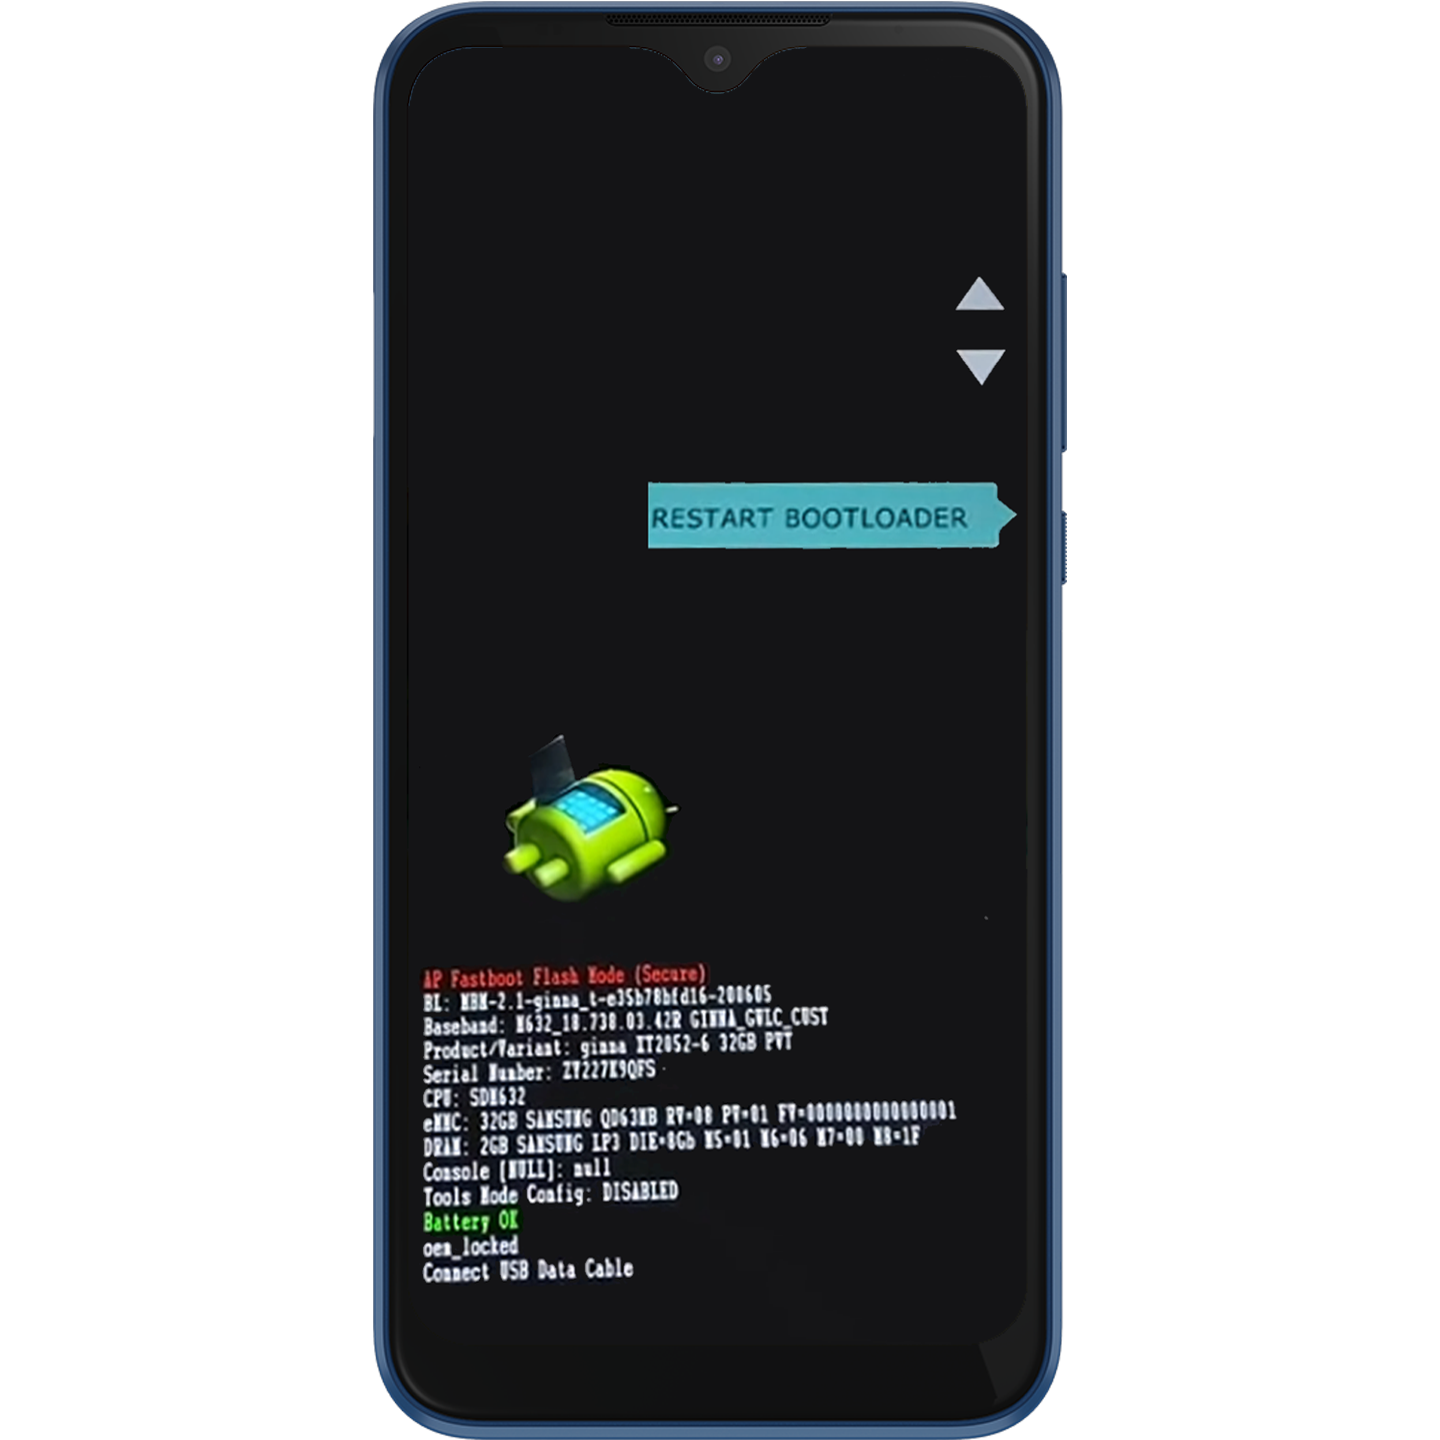
Booting into Fastboot Mode
Boot the device into fastboot mode by holding the [Volume Down] and [Power] buttons.

Connect your phone to your PC.
On your PC, open a fastboot console window.
Type:
fastboot devices
Your phone serial number should be displayed along with the word "fastboot" or "device" in the console.
Now, type the following commands:
fastboot flash boot_a patched_boot.img
fastboot flash boot_b patched_boot.img
Replace patched_boot.img with the path to your boot image we patched previously.
To reboot the device, type:
fastboot reboot
Once the device rebooted, open the Magisk app.
If you see the "Magisk is installed" message, you have successfully rooted your device!
You are done!
If you have any questions, or your device is in a bootloop, ask for help in the comment section below!
COMMENTS
